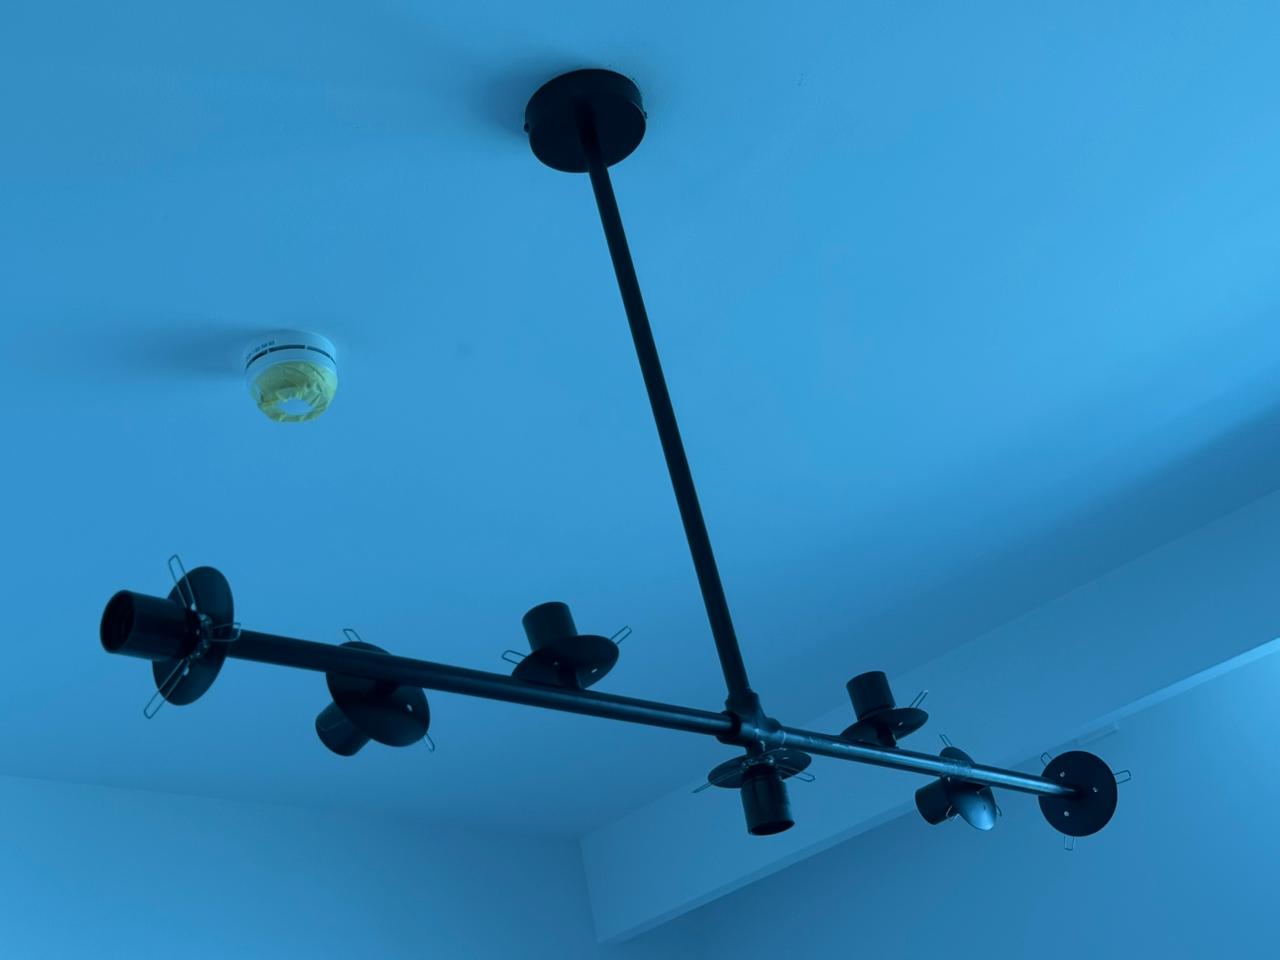
Introduction to How to Wire a Chandelier: A Beginner's Electrical Guide
Are you ready to transform your living space with a stunning new light fixture? When it comes to luxury lighting in the UAE, knowing how to wire a chandelier is essential. Whether you are living in a modern apartment in Dubai or a spacious villa in Abu Dhabi, proper chandelier setup can elevate the aesthetic of your entire home. In this comprehensive guide, we'll walk you through everything you need to know.
Why Proper Chandelier Setup Matters
Installing a luxury chandelier isn't just about hanging a light fixture; it's about ensuring safety, maximizing illumination, and creating a visually appealing focal point. Here are a few reasons why doing it right matters:
- Safety First: Heavy chandeliers require proper bracing and secure electrical connections to prevent accidents.
- Aesthetic Appeal: The correct height and placement make a significant difference in how the fixture complements your room.
- Longevity: A well-installed fixture will last longer without electrical or structural maintenance issues.
- Home Value: Professional-looking installations boost the overall appeal and value of your UAE property.
Essential Tools and Materials You Will Need
Before you begin your journey of how to wire a chandelier, gather all the necessary tools. Having everything at hand will make the process much smoother and ensure you don't have to pause midway. You will need:
- Voltage tester (crucial for ensuring electrical safety)
- Wire strippers and wire cutters
- Screwdrivers (both Flathead and Phillips)
- Adjustable wrench
- Sturdy step ladder (especially for high ceilings)
- Electrical tape and quality wire nuts
- Proper support bracing (if your new chandelier is particularly heavy)
Preparation: Safety and Circuit Breakers
The most critical step in any chandelier installation is safely turning off the power. Head to your main electrical panel and switch off the breaker that controls the room you are working in. Use your voltage tester on the existing light fixture to confirm that absolutely no electricity is flowing. Never skip this step—safety is paramount when dealing with electrical setups, and it's better to be safe than sorry.
Step-by-Step Installation Process
Now, let's dive into the core of how to wire a chandelier. Following these steps will ensure a robust and beautiful setup in your home:
1. Remove the Old Fixture
Carefully unscrew the canopy of your old light fixture. Disconnect the wires by untwisting the wire nuts. Have a helper support the weight of the old fixture while you disconnect it to avoid dropping it or damaging the ceiling. Once removed, carefully inspect the ceiling box.
2. Inspect and Prepare the Ceiling Box
Ensure that your electrical box is rated for ceiling fans or heavy light fixtures. Standard boxes can typically hold up to 50 lbs, but heavy luxury chandeliers often require special bracing that spans between the ceiling joists to safely support the added weight.
3. Assemble the Chandelier
Depending on the style, you may need to assemble the chandelier before hanging it. Thread the wires through the chain and canopy. If it's a crystal chandelier, leave the crystals off until the frame is fully installed to reduce weight and prevent accidental damage during the mounting process.
4. Wiring the Chandelier
Connect the wires according to the manufacturer's instructions. Typically, you will connect the neutral wire (often ribbed or white) to the home's neutral wire, and the hot wire (often smooth or black) to the home's hot wire. Connect the ground wire (green or bare copper) to the grounding screw or ground wire in the box. Secure all connections tightly with wire nuts and electrical tape.
5. Mounting and Adjusting Height
Lift the chandelier to the ceiling box. Secure the mounting bracket and canopy. Before fully tightening, ensure the height is correct. The standard height for a dining room chandelier is about 30 to 36 inches above the dining table. Adjust the chain length as needed to achieve the perfect look.
Common Challenges and Troubleshooting
Even with a thorough guide on how to wire a chandelier, you might encounter some issues. If the lights flicker, double-check your wire connections to ensure they are secure. If the chandelier wobbles, ensure the mounting bracket is flush and securely screwed into the ceiling box. Always remember that dealing with vaulted ceilings or extremely heavy fixtures adds a layer of complexity that requires extra care.
Maintenance Tips for Your New Chandelier
Once your chandelier is successfully installed, regular maintenance will keep it sparkling and fully functional:
- Dust regularly with a soft, dry microfiber cloth.
- Use a specialized chandelier cleaner for crystal fixtures to avoid streaks.
- Check the bulbs periodically and replace them with energy-efficient LED options suitable for the warm UAE climate.
- Inspect the chain and canopy annually to ensure everything remains secure and tight.
Conclusion
Congratulations! You are now well-versed in how to wire a chandelier. A beautifully installed chandelier can dramatically change the ambiance of a room, bringing a touch of luxury, elegance, and warmth to your home. Take a step back and enjoy the incredible transformation you've achieved.
Need Professional Assistance?
While DIY projects can be highly rewarding, electrical work and heavy lifting can also be dangerous. If you feel unsure at any point, or if you're dealing with exceptionally high ceilings and heavy fixtures, it's always best to call the experts. Our team specializes in professional luxury lighting setups across Dubai, Abu Dhabi, and the rest of the UAE. Explore our expert installation services or contact us today for safe, reliable, and flawless chandelier installation!
Need Professional Chandelier Installation?
Our expert team provides professional chandelier installation services across Dubai, Abu Dhabi, and all of the UAE.
Related Articles
Linear Chandelier Installation in Dubai: Dining Tables, Kitchen Islands, Multi-Cable Leveling, and Cost Guide
Luxury Penthouse & High-Rise Chandelier Installation in Dubai: Concrete Slabs, Permits, Sizing, and Cost Guide
Master Bedroom Chandelier Installation in Dubai: Heights Over Beds, Dimming, Switch Wiring, and Cost Guide